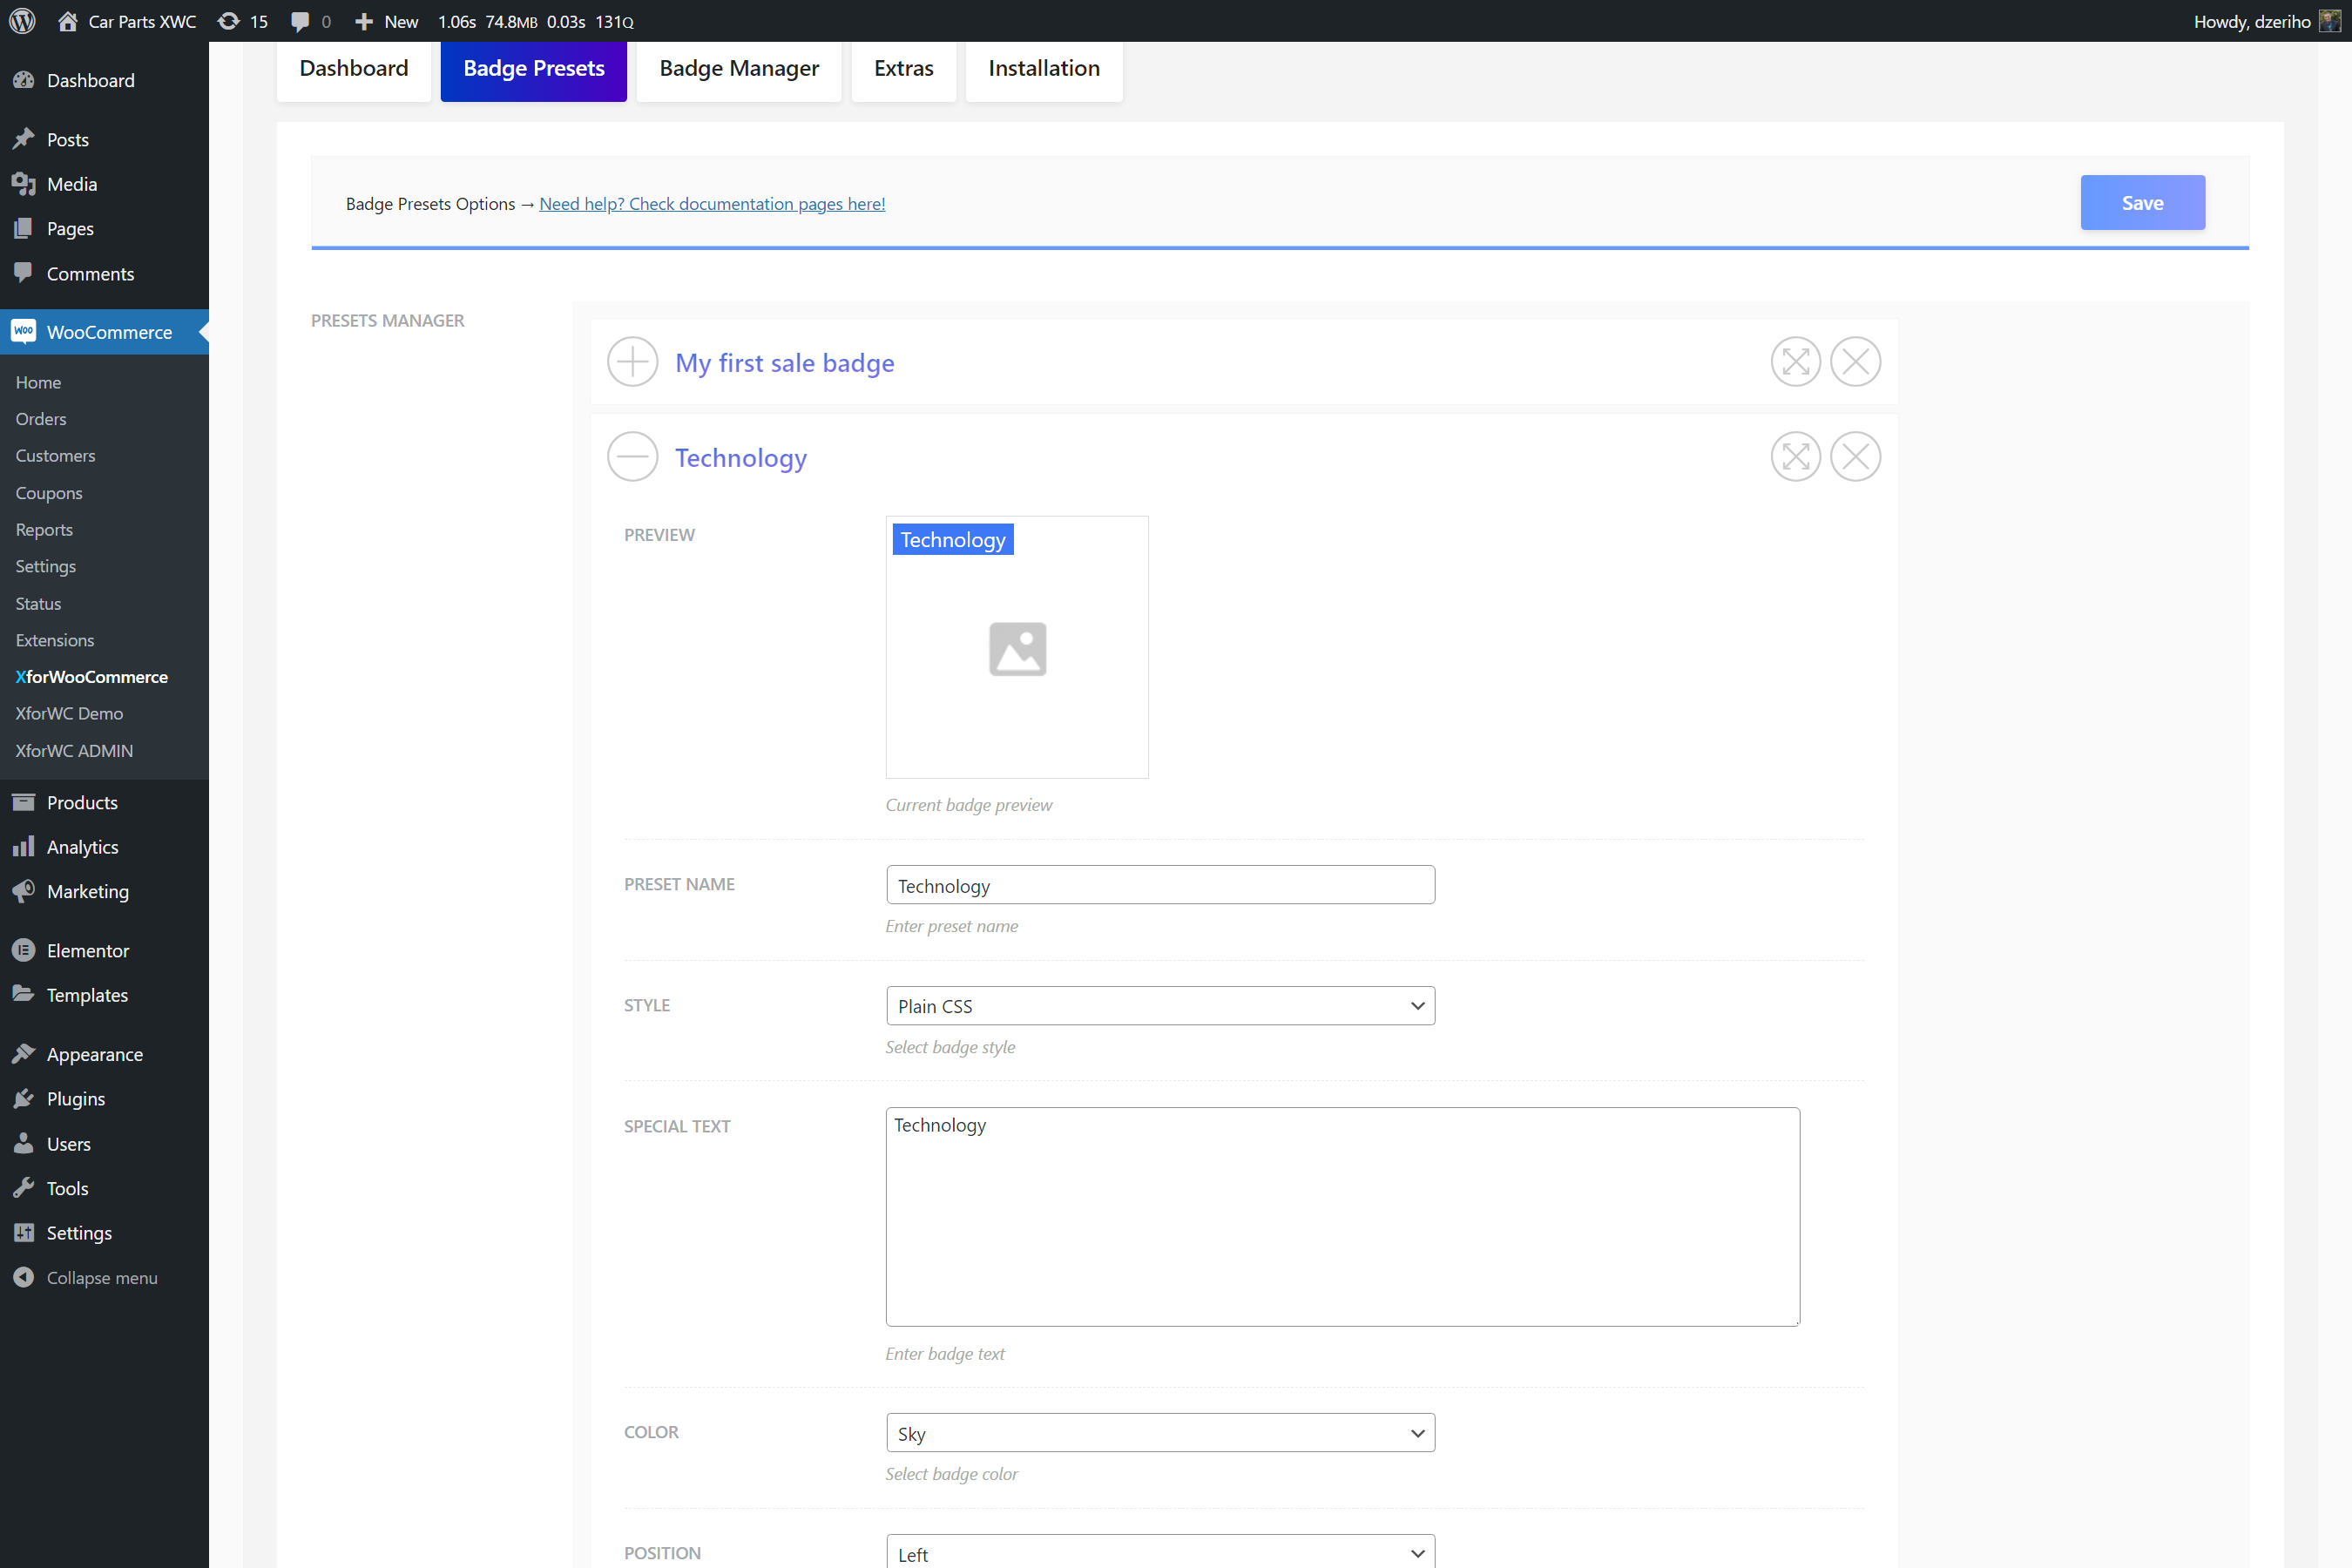
Create your first badge
To start and create your first badge in the plugin settings page choose tab Badge Presets.
The dropdown aside the Add Item + button declares the badge type. The button itself creates a new badge card based on the selected type. Options are not saved until the Save button is clicked.
First steps after integration
If you're using the Woo Template integration option, the plugin will completly replace current theme badges, so you'd first need to create a primary Sale badge.
- In the dropdown select
Saleand click theAdd Item + - Once the new badge card is created name it. Fill in the
Preset Name - A sale badge has
Style,ColorandPositionoptions. Set this options to your likings - Setting the badge name and options creates a new badge, still this badge isn't assigned anywhere
- To do that visit the
Badge Managertab - In the manager under
Primary Badgeset the newly created sale badge by selecting it from the dropdown by name. The primary badge is shown on all products. Since sale badges are shown only on products on sale the primary badge can be used as a default badge when using theWoo Templateintegration - Click
Savebutton to keep the settings - You can check your Shop and Product pages for the new sale badge and see if the integration worked correctly

Sale badges are only shown on products that are on sale. Products on sale have a sale price defined in the Woo product page.
Sale timers below the sale badge are shown on products which have scheduled sales activated. These options are from the Woo itself. To set the scheduled sale navigate product page and use the Schedule link bellow the Sale Price input under General product data tab.
Adding more badges
If you're using the action and hooks integration, or you're just done with the Woo Template integration and want to addon some new badges read more to learn how.
- Navigate the
Badge Presetstab in the plugin settings page - Create a new badge by clicking the
Add Item +button. Select the type to beText - Text badges allow text input and are not used as sale badges, at least not generally
- Once the new badge card is created name it. Fill in the
Preset Name - A sale badge has
Style,ColorandPositionoptions. Set this options to your likings - Enter text in the
Special Texttextarea. This text will show on the badge - For example, let's enter New
- Now navigate the
Badge Managertab - Here within the
Badge Addonsoptions, under theNew Badgeselect this new badge - Remember to click
Saveat the end to keep your settings - If everything is set correctly, this new badge will appear on products that are created within the last 7 days

Need to alter the new product period? Visit the Extras tab under the plugin settings and set the option New Badge Period. Enter the number of days that a product is considered new by your shop.
To learn more about the Badge Manager read more in this article Badge Manager.